User Onboarding Guide
Create Your Account
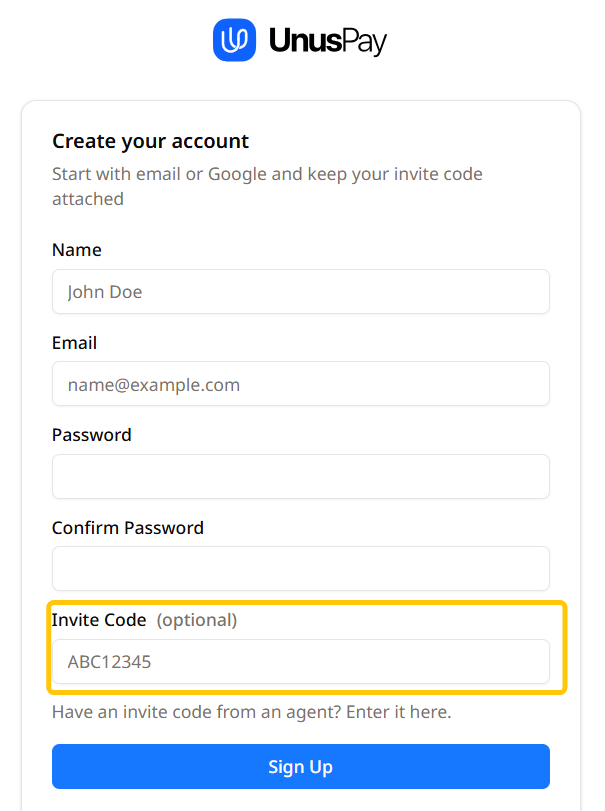
Section titled “Create Your Account”Go to https://app.unuspay.com/ to register.
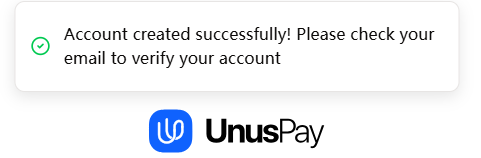
You can sign up by email (Sign up) or Continue with Google. The screenshot below shows the Sign up page. If you have an invitation code, enter it in the designated field. After signing up, verify your email address to activate your account.
Wallet Setup
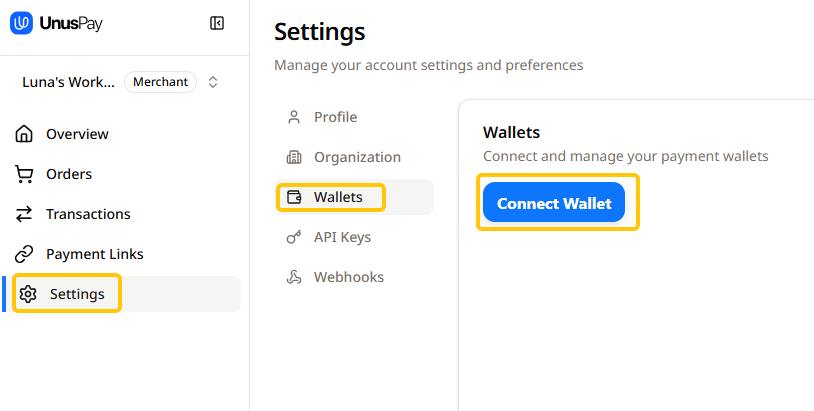
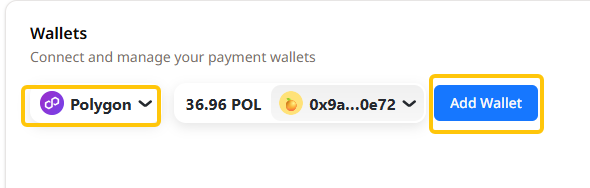
Section titled “Wallet Setup”After logging in, click Settings and navigate to the Wallets section. Click Connect Wallet to identify your wallet by chain and add it. You can add one wallet per chain at a time.
Wallet Sets
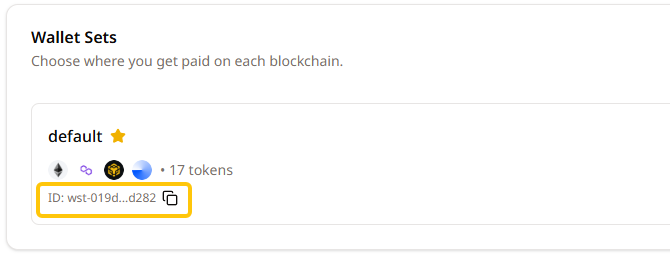
Section titled “Wallet Sets”A wallet set is required. It helps you organize and manage your wallets. Click Edit on the default wallet set to configure it. Select the chains and currencies you need, then click Save Changes. Your default wallet set ID will be used to receive payments.

Configure API Keys
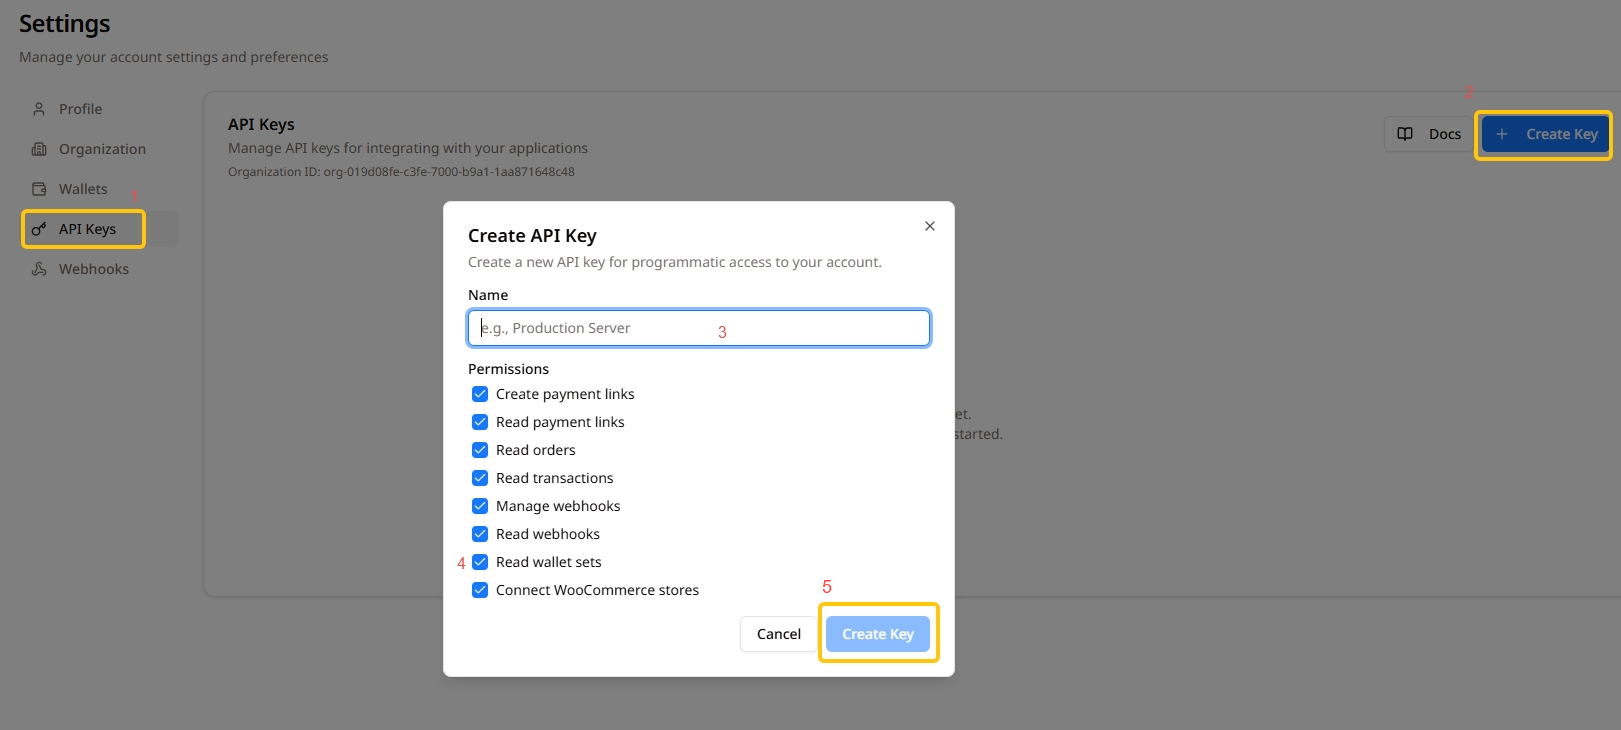
Section titled “Configure API Keys”Go to the API Keys section and click + Create Key to generate a new key. Enter a name for the key and select the required permissions (for WooCommerce plugin users, Connect WooCommerce stores is required). Copy the key immediately using the copy button. Save it securely.
Need Help?
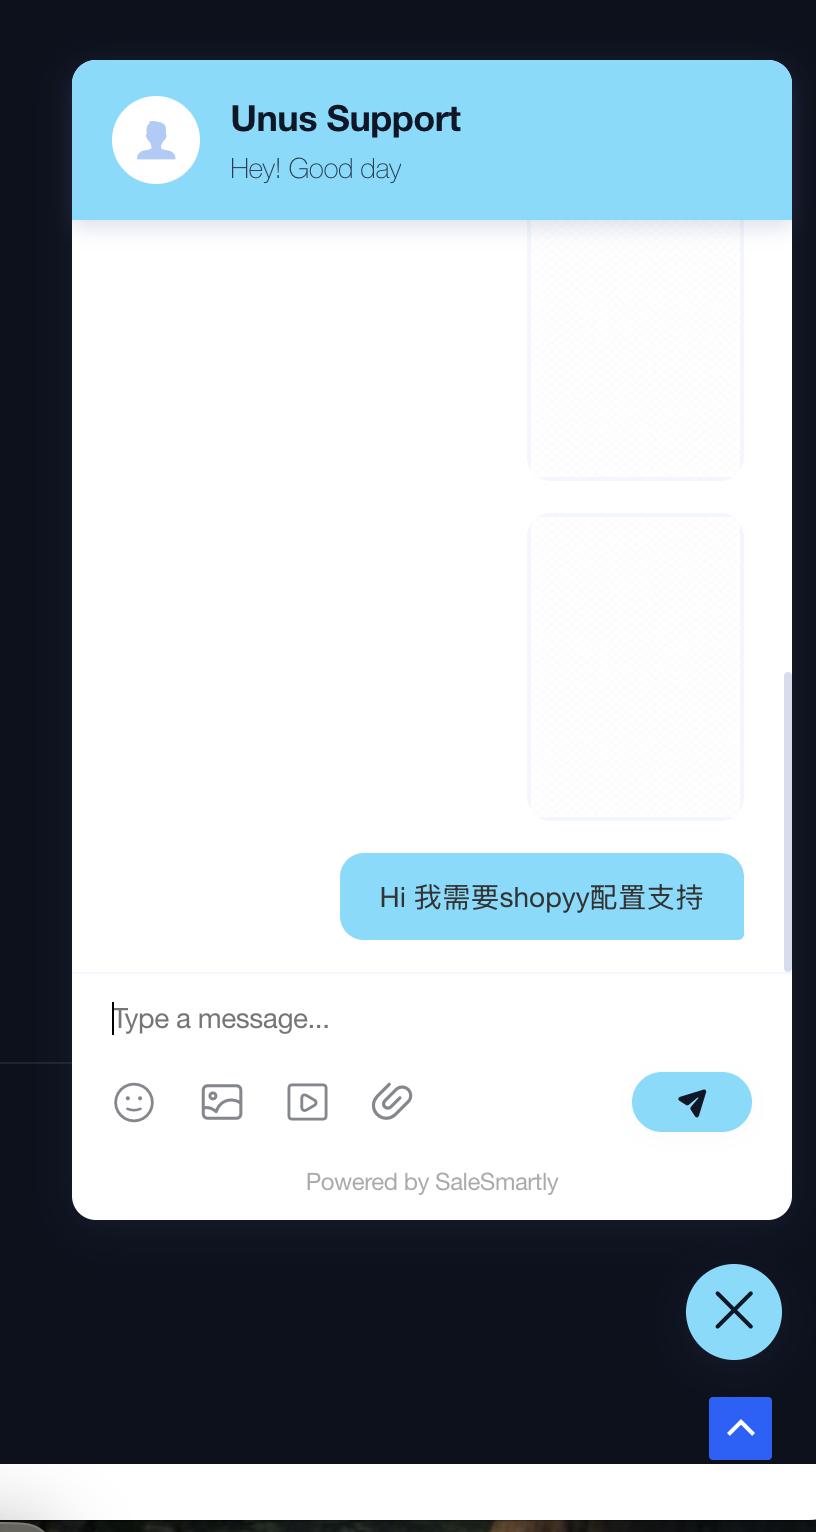
Section titled “Need Help?”If you have any questions during setup, leave a message via the chat widget on our website https://unuspay.com/, and our support team will assist you.